Front of the card. Just a regular rectangle designed with layered mats, cut outs and punches. The flowers were made from scalloped cut circles that I cut into to make petals and then slightly curled each petal under to give them a little dimension.
Inside showing front panel with pocket and left side of middle fold. The middle section is one long piece. It is the left pocket, middle fold section and the right pocket. If you do not have a piece of paper long enough to spread across then I would join two sections smack in the middle of the hinge.
Inside showing back panel with tag pocket and right side of middle fold where sentiments were placed. The pockets are not sized the entire panel, smaller is more here. Also the middle fold section is about 60% across the panel. It is to be an additional embellishment but not main feature so don't make it to big.
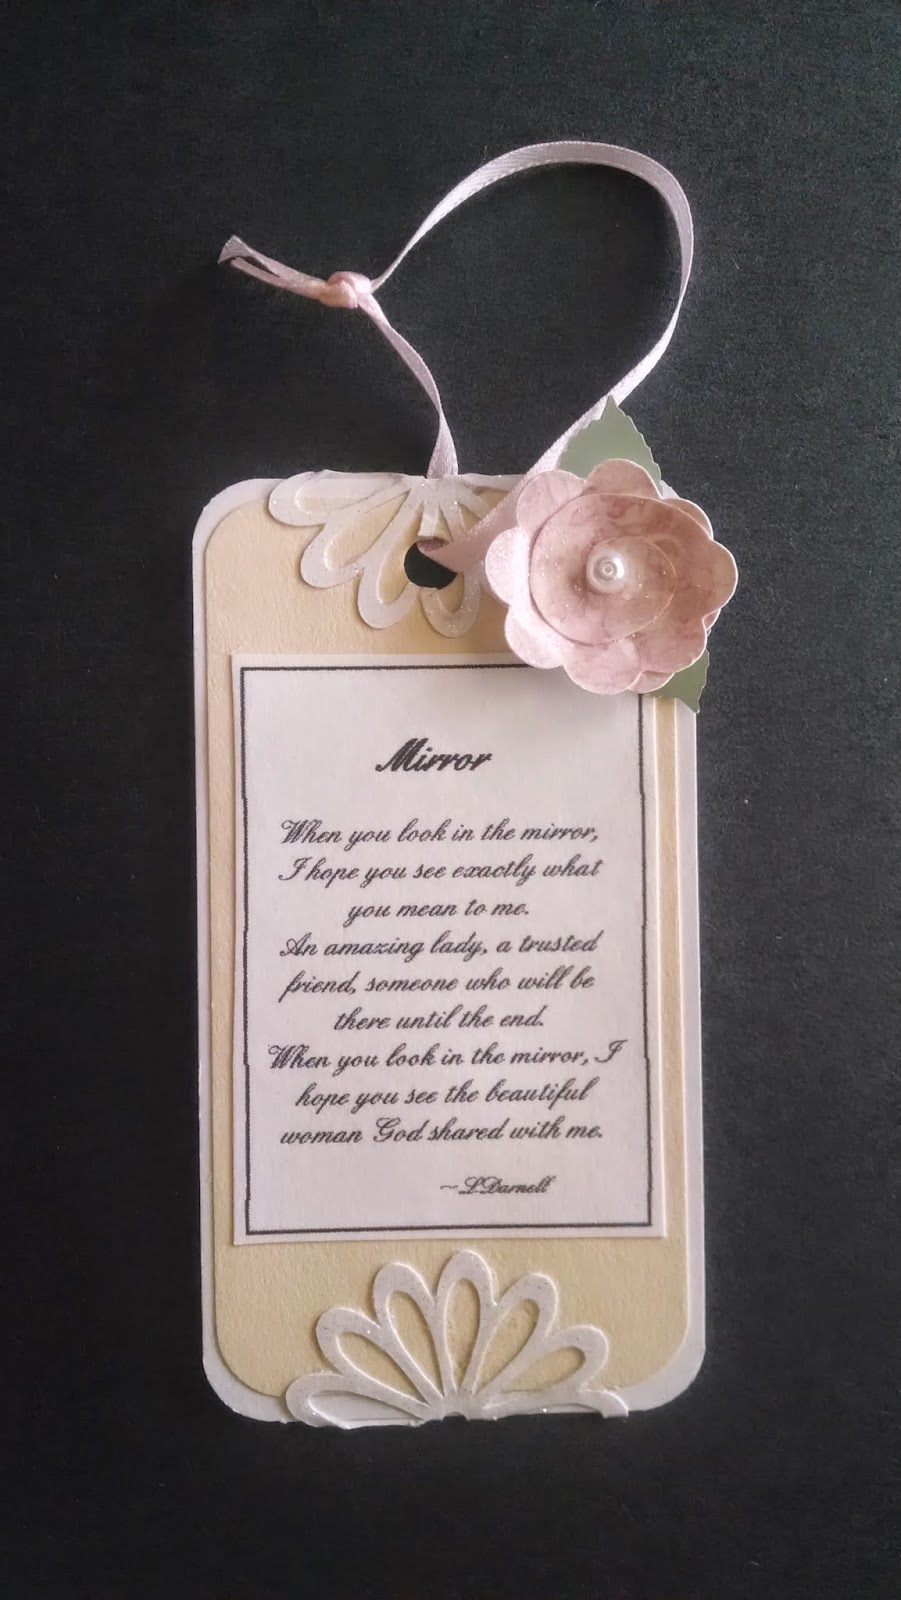
This is the front and back of the tag in the back pocket.
It took me several days from start to finish but I am happy with it. The most important tip I can give you if you try this card is to play around with layout before you glue anything down. Symmetry was key for me in my design but maybe you have a different idea. This is my first attempt at this card style and I like it. Obviously this one is very girly but any color combo and embellishments can change the feel of any card design. I will use this style of card again.


