Friday, June 27, 2014

My hand at a Pocket tri-fold card

So I tried my hand at this pocket tri-fold card. I saw a picture of a finished one and had to kinda reconstruct it in my head but the mechanics were not hard. It did require some measuring and pre-planning. Usually I plan my layouts and fuss around with them before I glue anything down so it worked out fine. Ok so the card has a front panel and back panel joined by a fold in the middle. The inside front and back panel are pockets. The front panel will hold a gift card or good old cash. The back panel pocket holds a tag. Since this card was for one of my daughters, I chose for the card to contain a poem on being a daughter. So the tag can either stay in the card or is also designed to be a stand alone bonus gift that can be hung off a lamp or something.

Front of the card. Just a regular rectangle designed with layered mats, cut outs and punches. The flowers were made from scalloped cut circles that I cut into to make petals and then slightly curled each petal under to give them a little dimension.

Inside showing front panel with pocket and left side of middle fold. The middle section is one long piece. It is the left pocket, middle fold section and the right pocket. If you do not have a piece of paper long enough to spread across then I would join two sections smack in the middle of the hinge.

Inside showing back panel with tag pocket and right side of middle fold where sentiments were placed. The pockets are not sized the entire panel, smaller is more here. Also the middle fold section is about 60% across the panel. It is to be an additional embellishment but not main feature so don't make it to big.

This is the front and back of the tag in the back pocket.
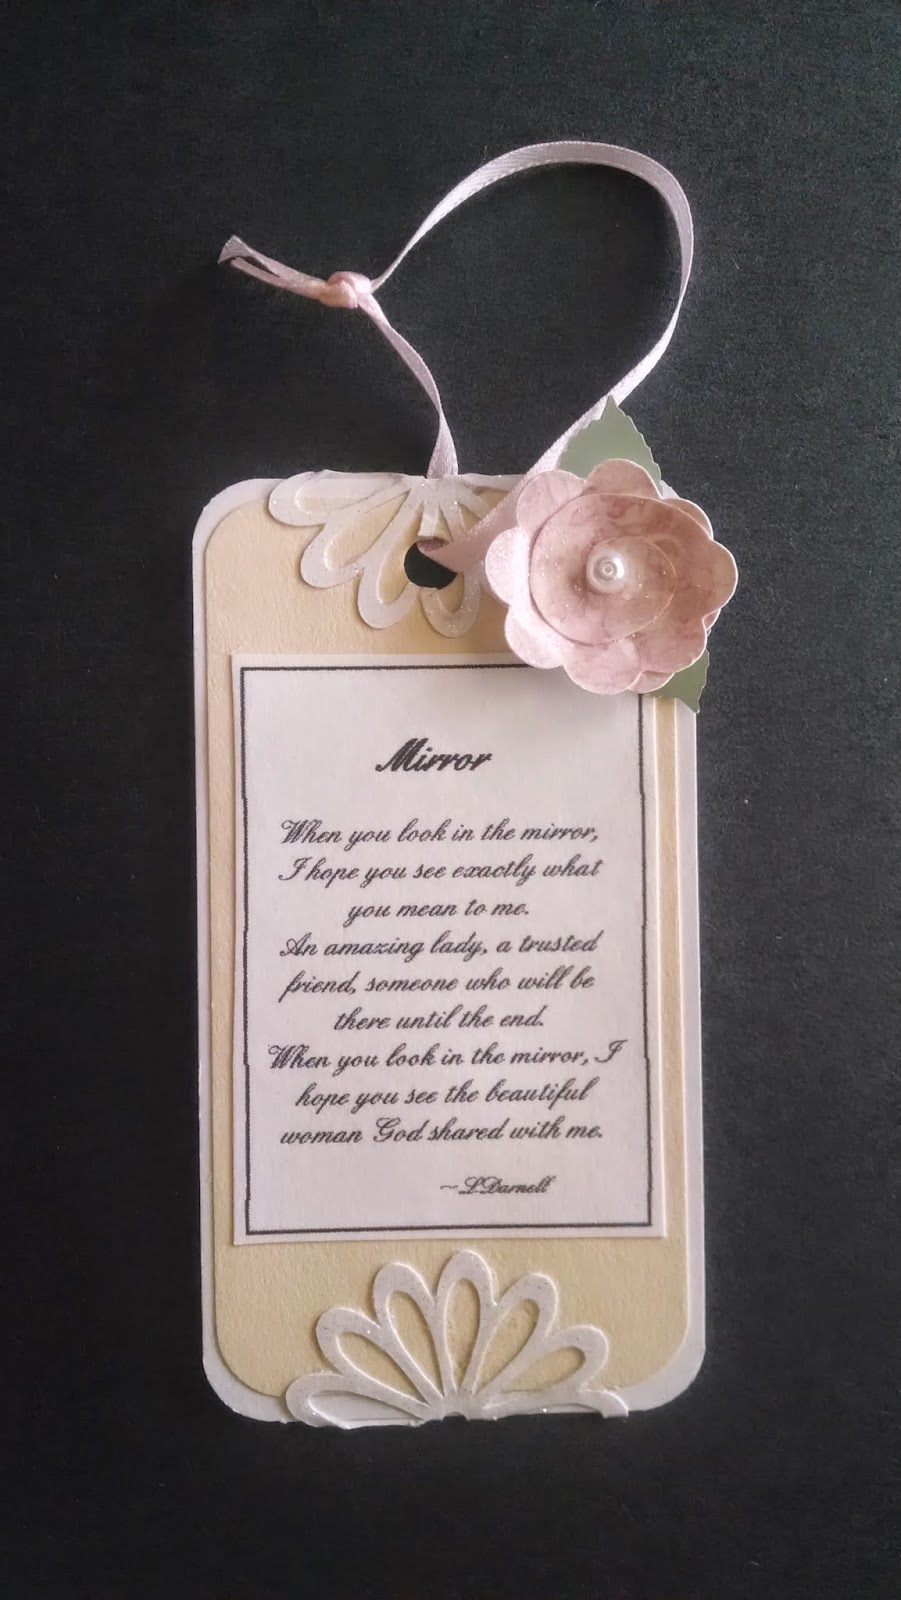

The papers used are some I had designed and some from Cajoline Scraps that I recolored so everything matched. The cut outs were done with The Cricuit Expression on card stock. I used Tulip Glitter Diamonds on some of them to make it sparkle. A few beads and gems finish it off. I like to use nail gems on my cards because they are pretty flat and not so bulky plus they come in tiny sizes.

It took me several days from start to finish but I am happy with it. The most important tip I can give you if you try this card is to play around with layout before you glue anything down. Symmetry was key for me in my design but maybe you have a different idea. This is my first attempt at this card style and I like it. Obviously this one is very girly but any color combo and embellishments can change the feel of any card design. I will use this style of card again.

Saturday, July 6, 2013

Been Away

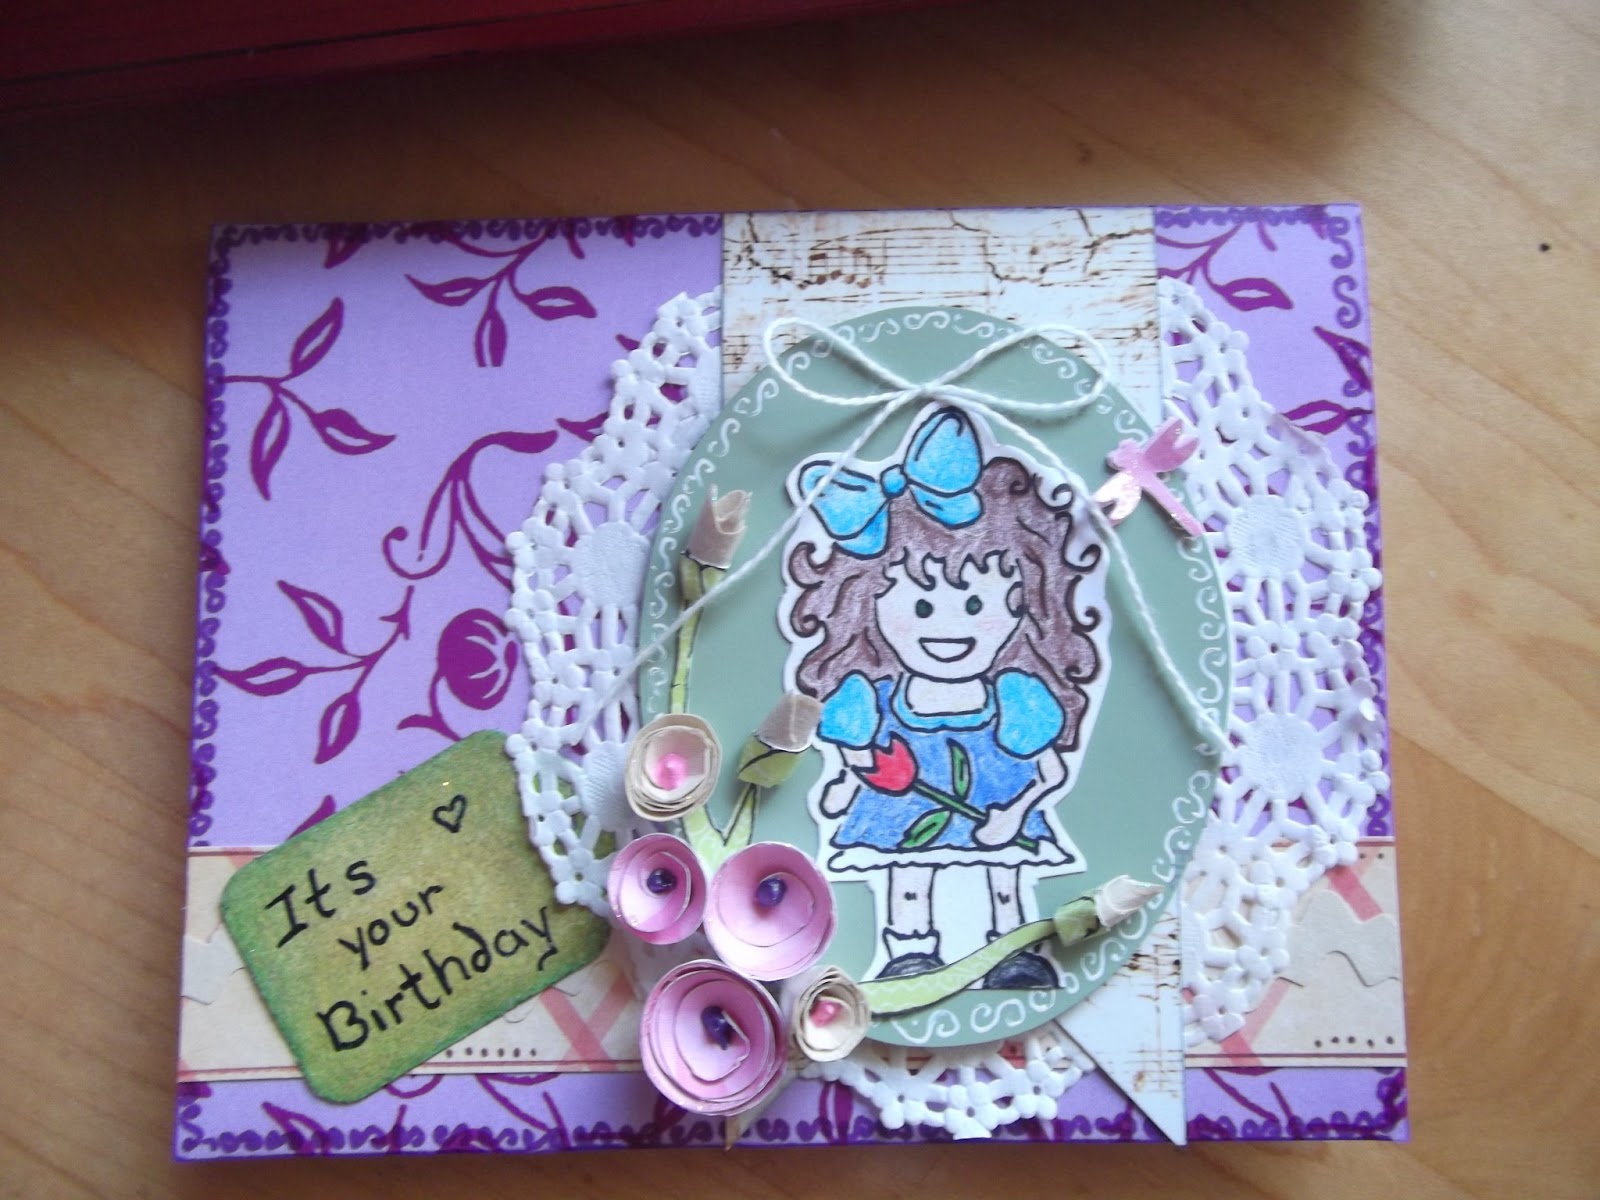
I have been away for awhile taking care of someone but I am back home now and starting to get back into the flow of things. I created two cards recently, one is for a birthday and one is for my grand daughter who has started potty training. Kinda cheated. I did not have a stamp of a little girl so I did the next best thing, I drew my own. I know some of you like to use stamped or printed lettering but I like to write mine. If I am giving a handmade card, to me the most personal part of it is the greeting and well wishes and I want them to be hand written.


It was a lot of fun crafting again.  I also made a plaque. I used air drying clay to see how it worked out. I find that when it dries it is a bit brittle so choose carefully what you will incorporate it into. It also starts to dry quickly so you need to work quickly or in segments and glue them together later. I am going to make some little do-dads type things with it to put on cards and altered boxes. I will let you know how well it works out.


I didn't think this through because the side with the fairy ended up much heavier and the plaque would hang crooked. So what does a crafter do? Improvise! I raided my husbands tackle box and put a line weight under the clustering on the bottom right corner. LOL, it worked!

Lastly, I started painting t-shirts for the grand-babies birthdays later this month. They will be 2 and 3 and really like Sesame Street right now so I painted Cookie Monster and will start Elmo today.


I did not add any wording. Not sure if I want any on it or not. My husband said I should put "Me want cookie." I use crafting paint that reads permanent when dry. I also add some dimension with fabric dimension paint. After it is completely dry I toss it in the dryer on low for awhile to make sure everything sets. I used to paint t-shirts and sweatshirts for my kids when they were little and they loved them. It is nice having grandkids to paint again for.

Okay so here is Elmo.

Sunday, February 24, 2013

DIGISTATION FEBRUARY POT LUCK KIT

Hey guys. It has been awhile since I have been online. Had something going on but I am back.  I entered a challenge over at DIGISCRAPSTATION. It is a color challenge they fondly call "Pot Luck Kit." Below is a preview of my part. If you would like to see what others have created then click on over, I linked their name above.


My part contains 5 papers, frame cluster, cluster, mat, and 8 elements.


Tuesday, December 4, 2012

Two Birthday Cards

Here are two Birthday cards I made this week. The first is feminine and the other masculine. I had a lot of fun creating them.


Saturday, November 24, 2012

Freebie

Here is a brag book freebie for you.


You Don't Scare Me

Here is the mini Halloween kit I previewed. It contains 8 papers, 1 quick page, 2 frames and 15 elements. I think it turned out pretty cute.


Now I will start work on a Christmas kit. I am looking for a color palette inspiration. When I decide on it, I will give a preview.